Most homeowners are guilty of neglecting the chimney till it is too late or some serious damage has already occurred. One of the reasons is simply that the chimney is hard to reach and something that we do not lay our eyes on a regular basis. While that is true, it does not take much of an effort to check up on the state of the chimney once a month or once every two months. That is all it requires to nip a problem in the bud and prevent it from transforming into an irritating chimney leak that costs a hefty sum to repair.
There are two main reasons why you should seal the chimney. First, a good quality sealer protects the chimney and helps it last longer. Second, the sealant works as a waterproofing agent and prevents leaks. The need for waterproofing applies to brick chimneys in particular. Chimneys made of stucco plaster, stone, and concrete also require sealing.
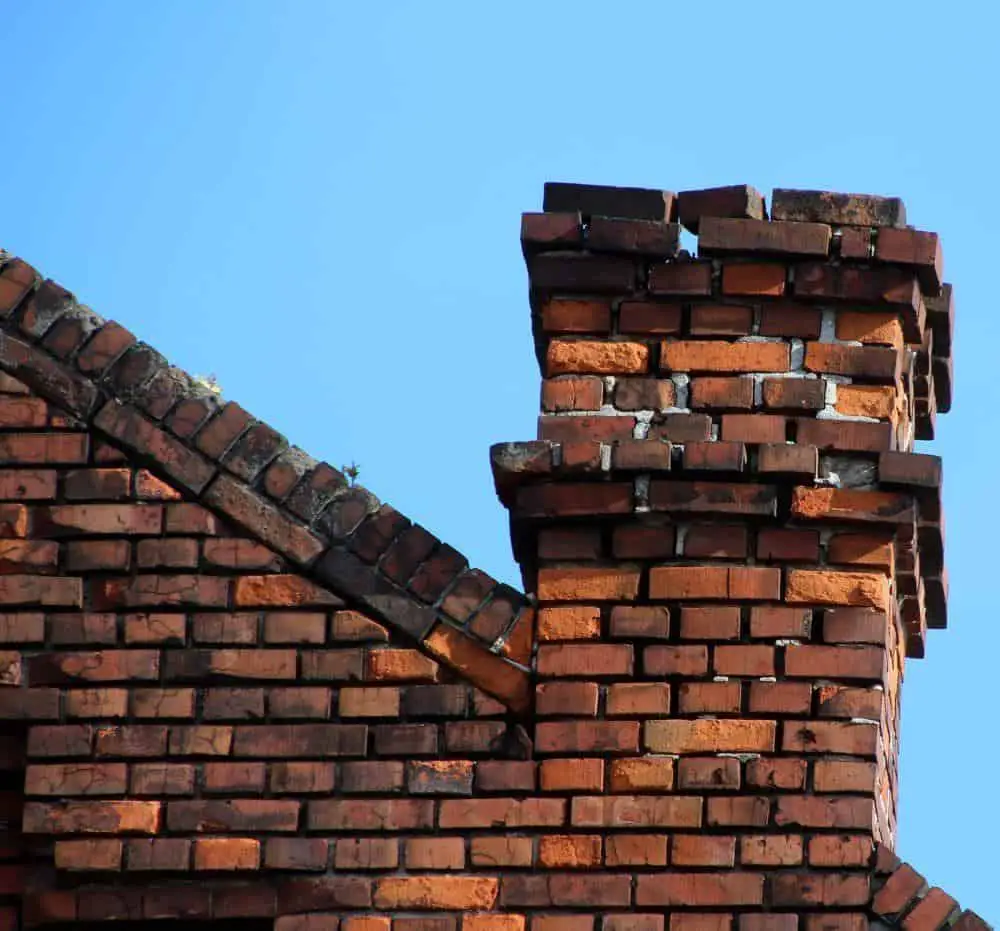
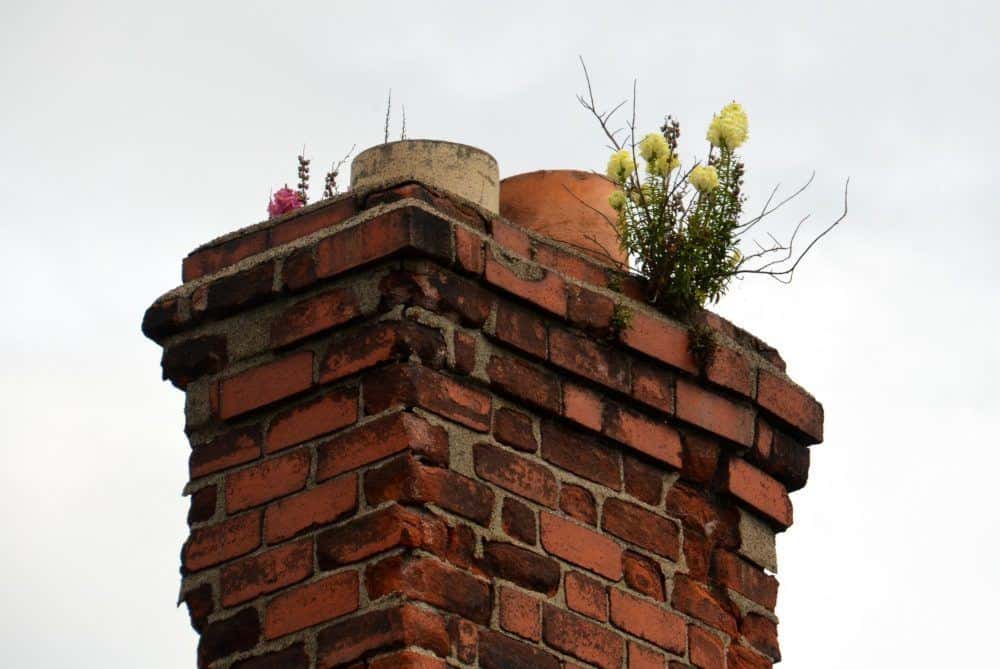
With time, brick chimneys are affected by cracks and spalling and these deteriorate within a short period of time. If you spot them early, the repairs may cost you anywhere from $500 to $1000. But the longer the delay, the higher the cost of repairs. You can prevent this situation by simply sealing the bricks that make up the chimney and the crown of the chimney with a chimney sealer. It will not only help you save money but also will significantly increase the life of the chimney.
Table of Contents
Selecting the Right Sealer
Chimneys are exposed to the elements, including rain and snow. Ideally, you should pick a chimney sealer that is made of silane and/or siloxane. This holds true not just for brick chimneys but all masonry-based chimneys.
A silane and/or siloxane sealant is a penetrating sealer that provides excellent protection from severe weather conditions, especially rain and snow. Also, this sealant has a relatively low degree of volatility and high value for money, as it provides high-quality protection from moisture at a comparatively low cost.
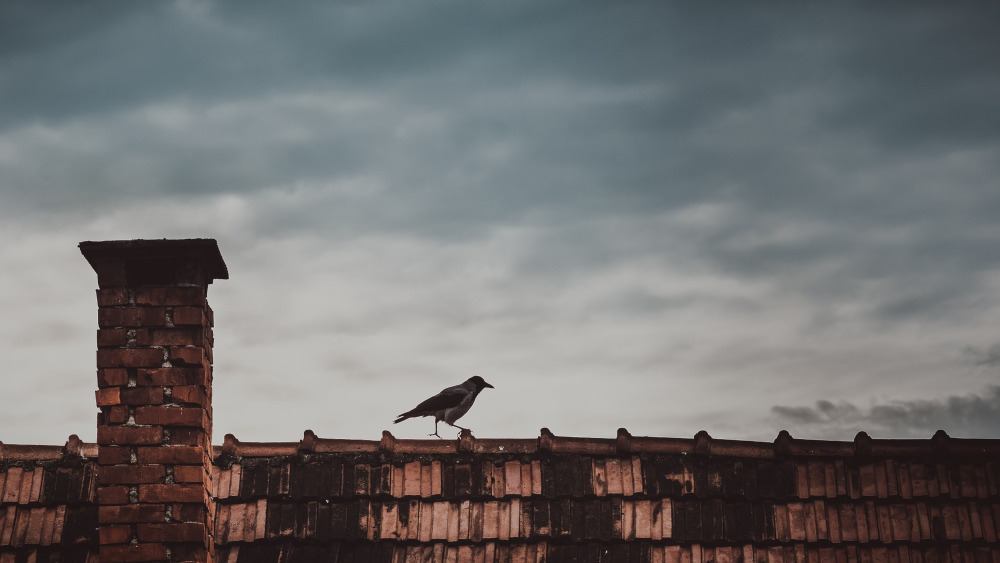
Siloxane-based sealers are particularly good as they form a protective barrier around the surface of the chimney and prevent damage due to moisture. In addition, it does not change the appearance of the chimney in any way, such as making it look shiny or glossy, because of its clean and natural finish. The protection from moisture also means that mold and mildew will not form and settle in the chimney.
A Word of Caution
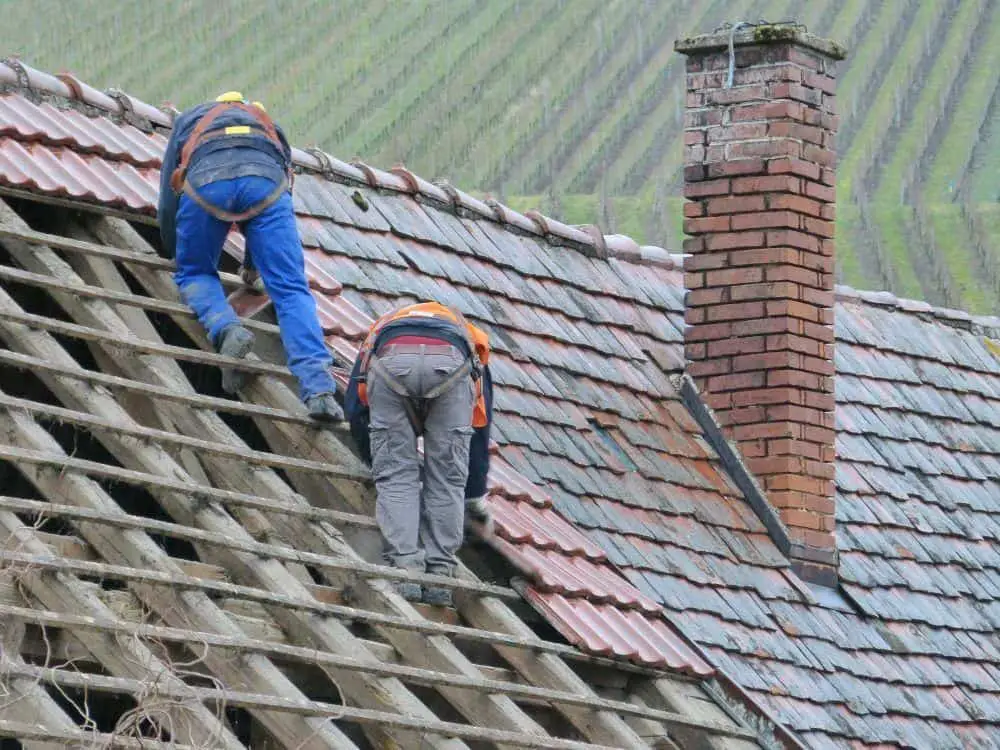
While it is possible to apply the sealant on the chimney yourself, as well as take care of all the associated tasks, you need to keep in mind that you will have to do all of this on the roof, at a considerable height. First, from a practical standpoint, not all roofs are designed to allow safe and comfortable movement on them.
Also, the chimney crown might not be easily accessible from the roof either. Second, do you think you will be comfortable performing a number of tasks at such a height and at the same time concentrate on the job at hand?
You will have to go up to the roof twice. The first time to get the measurements required to order a chimney cap and the second time to apply the sealant. If you have successfully done this previously, then go ahead. However, if you have any doubts, then it doesn’t make sense to take a risk. Instead, hire a professional to take care of it. Yes, it will cost you money.
The tools and materials you need for sealing and waterproofing the chimney will cost about $300-500, whereas a professional will charge you upwards of $1,000 (including the materials) to get the job done. Is risking your safety and well-being worth the $700 you are likely to save? If you do decide to go ahead and do it yourself, then make sure that you have a high-quality roof harness to provide you with extra protection.
Tools You Need
Materials You Need
Sealing the Chimney Crown
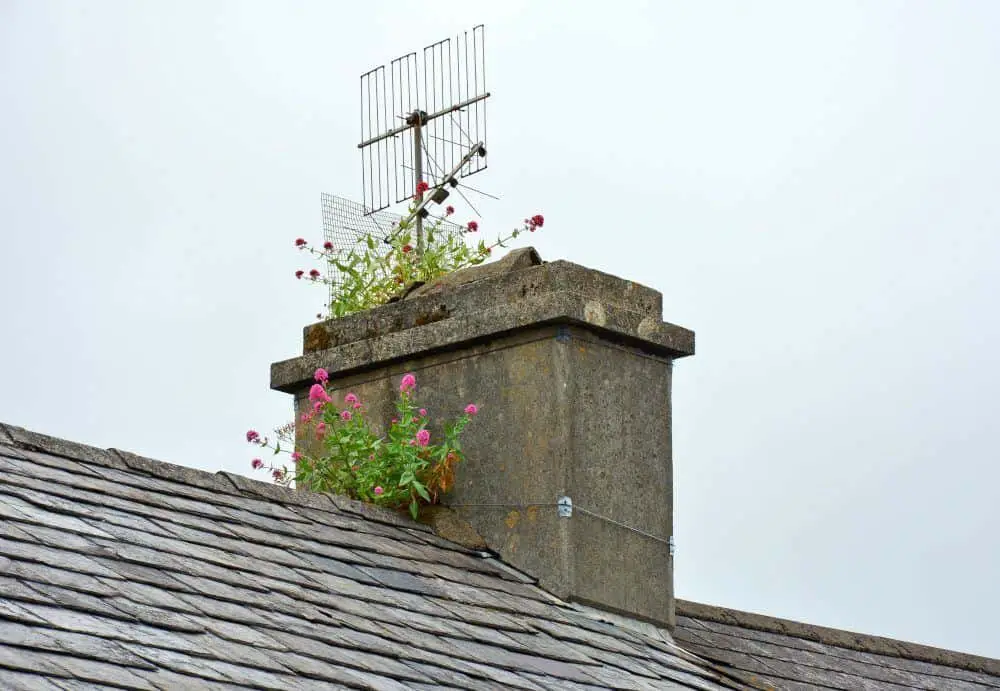
All masonry-based chimneys, including brick chimneys, have a crown on top that is usually made of mortar, which sits like a cap in order to prevent water or moisture from entering the bricks and eventually, into the house itself. It should not be made of mortar, but in most cases, it is. In some cases, the crown is made of concrete, which is a far better option.
As you may be aware, most materials expand and contract due to hot and cold temperature, as dictated by weather conditions. This periodic expansion and contraction lead to the formation of cracks, which deteriorate with time. To further accentuate the problem, a crown made of mortar is porous.
A crown made of concrete has better chances of withstanding the lashings of nature, but nonetheless, it will experience wear and tear over time. A good quality sealant protects the existing cracks and stops them from expanding, and at the same time, ensures new cracks do not appear.
It is important that you do this job on a bright and sunny day. Basically, there should be no rain in the forecast for the day. Use a nylon brush to clean the crown from any dust and debris. In case there are large cracks on the crown, you will have to fill the cracks before applying the sealer. You can either use patching cement to fill up the cracks or silicone caulk. For this, use a caulk gun. The cement or caulk will continue to cure while you apply the sealer and post that as well.
Next, you will need the duct tape. You will have to wrap it around the crown, about half-an-inch below the seam between the crown and the brick. Make sure that the tape is pressed into the brick joints as well. You will also have to tape around all the flue liners, once again about half an inch from the crown. Now, bring out the tarpaulin sheet and lay it close to the chimney base. This will ensure that the sealer does not drip onto the roof itself.
Ideally, you should apply the first coat of sealer with your hand. That is why the disposable glove was mentioned as one of the required tools. However, this is a personal choice. The advantage of applying the first coat with your hand is that you can reach the nooks and crannies of the cracks. Alternatively, you can use a paintbrush to apply the sealer.
Let the sealer rest and dry out for at least a couple of hours (more, if required), before you apply the second coat with the paintbrush. The sealer should be dry to the touch before the second coating is applied.
Sealing the Chimney Bricks
Remember to allow the crown sealer to dry out completely before beginning the second stage, which should not take more than two hours.
Firstly, remove all of the duct tape and put them in a disposable garbage bag. Leaving the duct tapes lying on the roof, especially if it is windy, will increase your cleanup job later. Let the tarpaulin sheet you had laid out earlier remain as it is. Remember that all chimney flashings need to be masked off prior to applying the sealer.
Now, pour the water-repellent sealer into the low-pressure sprayer and spray it evenly all over the chimney. You have to start from the bottom and spray the sealant on the bricks evenly. Some of the repellents will drip down. Wait for it to stop and then continue with the spraying. Gradually move to the top of the chimney. Wait for at least 10 to 15 minutes before applying the second coat, and once again, begin from the bottom.
Installing the Chimney Cap
Technically, a chimney cap is not a sealer but in effect, it does the same job, which is to protect the chimney or some of its parts from water and moisture. In this case, it specifically protects the chimney flue and helps it last longer. As mentioned earlier, you will have to measure the flue liner in order to get the size of the chimney cap correct.
A stainless steel chimney cap is the best option as it will last longer, but it costs more as well. Alternatively, you can get a galvanized chimney cap, which will cost a little less but does not last for a long time.
Place the chimney cap over the flue liner and with the screwdriver, fasten it securely. Do not screw it in too tightly because the extra pressure may lead to cracks in the clay liner.
Concrete Block Chimneys
The methodology and the sealant that you need to use for a concrete block chimney is slightly different from a mortar chimney. The primary reason for that is the fact that concrete block chimneys are by far the most porous and hence require extra protection. However, it is not easy to get the best result in terms of waterproofing it as compared to mortar chimneys.
You need to use a solvent-based waterproofing sealant and the number of coats you apply will be higher. Purely in terms of quality of sealer, polysiloxane sealers are the best in class. But the size of the pores in a concrete block chimney is much bigger, so ideally you should completely seal these pores.
Stucco plaster is one such material that can do the job of comprehensively sealing the pores and waterproof paint is another material. In fact, the paint used to waterproof boats is probably the best material for the job, even though it might seem a bit too much.
Stucco Chimneys
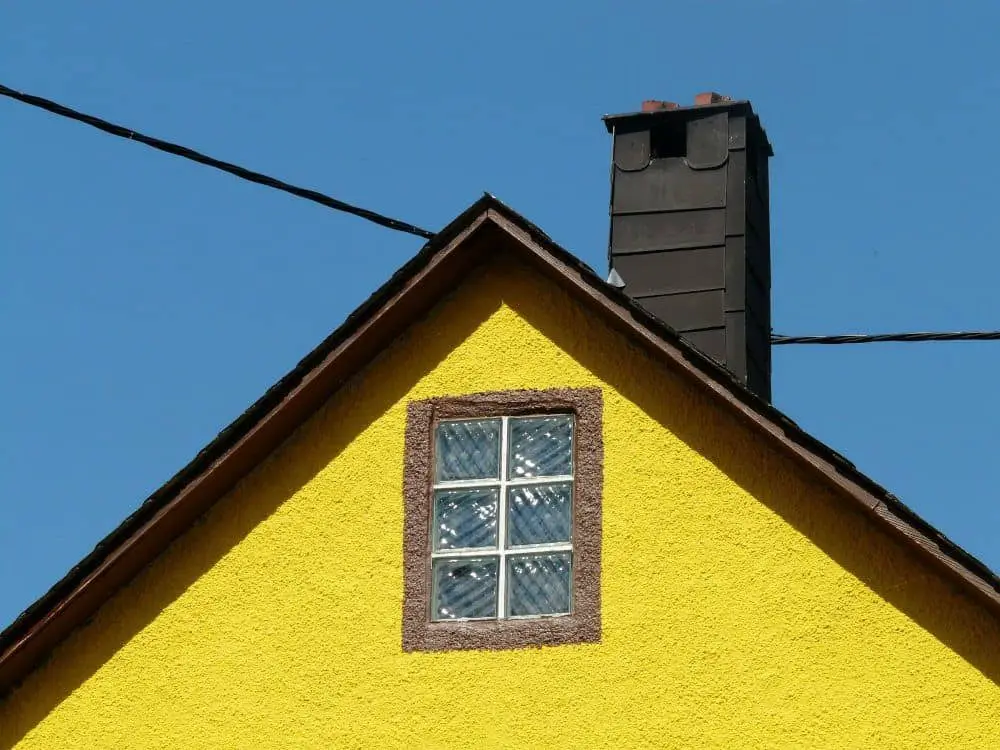
Chimneys with stucco plastering are probably the trickiest in terms of waterproofing or sealing. As mentioned in the case of concrete block chimneys, stucco plaster is in itself a good waterproofing material. So, you can skip the waterproofing process for chimneys that have stucco plastering. Continue monitoring the chimney at periodic intervals and if you notice significant wear and tear, apply a sealer.
Conclusion
The benefits of sealing a chimney are multifold. Leakages are taken out of the equation along with other related issues such as the formation of mold, mildew, and efflorescence. Water leaking into the house can damage other parts of the house including hardwood flooring and furniture placed near the fireplace. In addition, the formation of mold and mildew is not just bad for the chimney, it also creates health hazards, including serious respiratory issues.
You are repaid for the extra effort you put into sealing and waterproofing the chimney by not having to worry about the maintenance of the chimney for a very long time. The long-term savings associated with sealing the chimney has already been mentioned. Even if you are not comfortable with climbing up to the roof and doing it yourself, it makes more economic sense to hire a professional to do the sealing than to leave the chimney unattended. The $1,000 or so that you will have to spend to hire a professional and pay for the materials required, will rid you of worries for over a decade.
A good quality sealer and waterproofing material lasts for 20 years. If you live close to the ocean, which means the saline content in the air will be significantly higher and the surface of the chimney will also be exposed to sand blown in by the sea breeze, even then, a good quality sealer will last over 10 years.
So, essentially you do not have to worry about the chimney for at least 10 to 15 years. Plus, most sealers come with a 10-year warranty in any case. At the end of the 10 to 15 years, you have to replace the sealant and waterproofing material and you are set for another decade or more.
Finally, select the right sealer depending on the type of chimney you have, clean the chimney thoroughly before applying the sealer, and if you are doing it yourself, make sure to stay safe.
