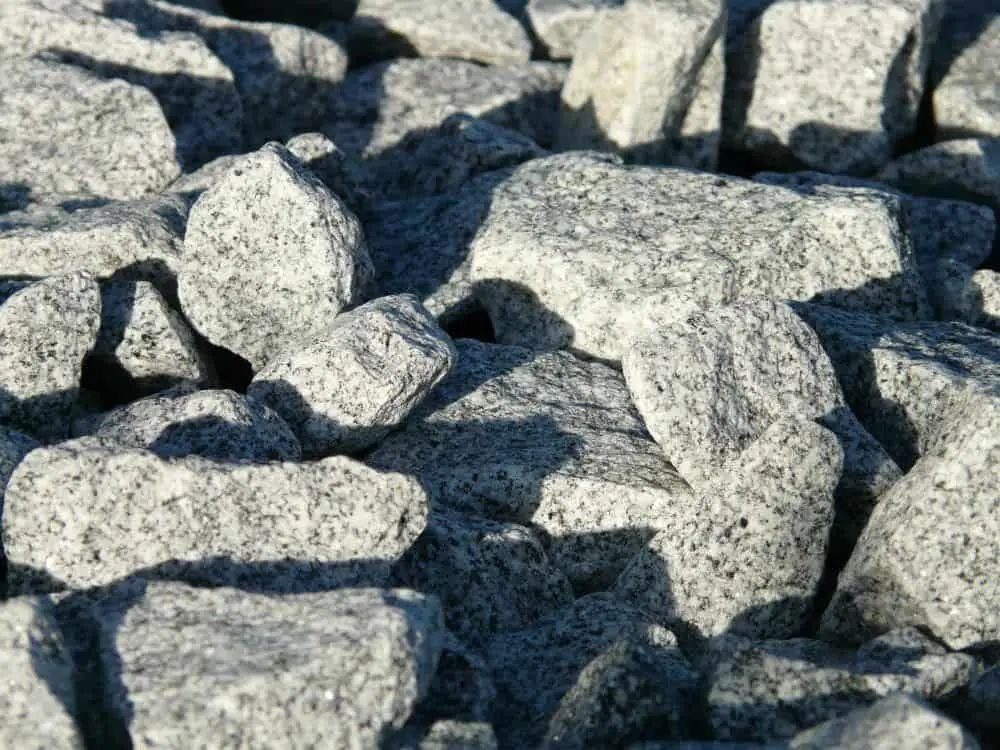
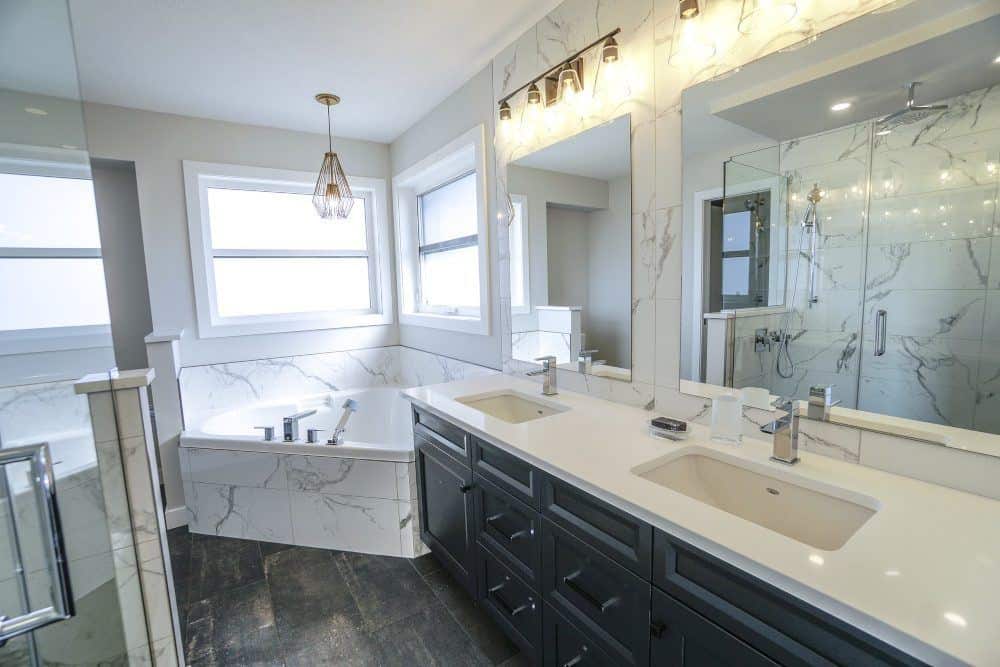
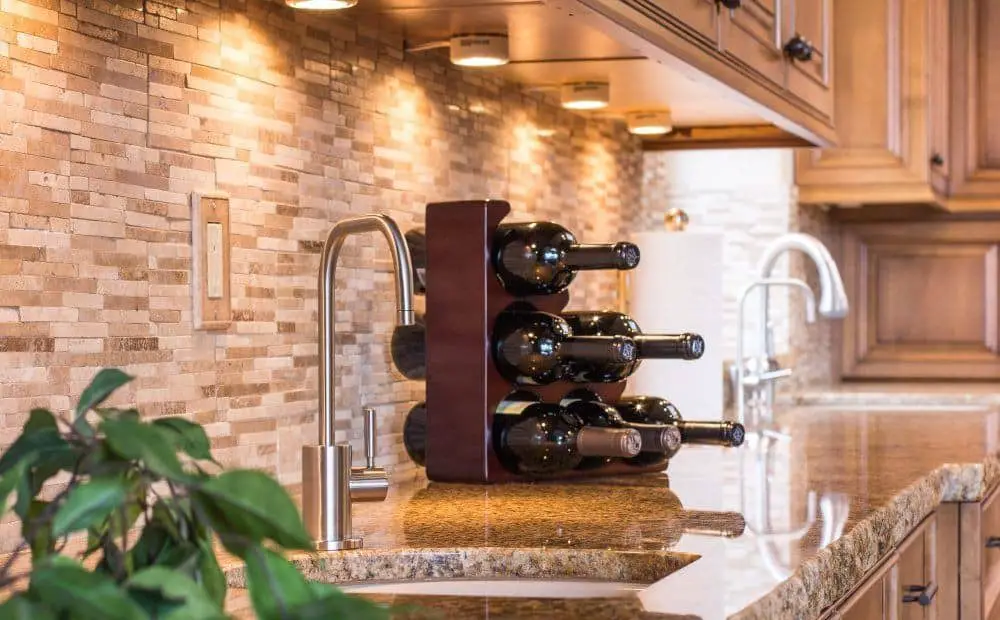
Granite is one of the hardest natural stones. It has a high weight limit and can withstand extreme temperatures. Granite is also resistant to water seepage to a certain extent. These characteristics make granite a popular material for kitchen and bathroom countertops.
In the kitchen, the countertops are exposed to oil spills, food, or acidic substances, along with hot utensils being placed on it. In the bathroom, the countertops are exposed to excessive water spills and chemical cleaning fluids

Unlike marble or limestone, granite has a very low porosity. If water is left on a granite countertop, it will take a long time before any of it is absorbed. But oil-based spills are a different matter—they will stain the granite surface of your countertops. Acidic substances such as citrus fruits, vinegar, and citrus-based cleaning products will cause etching. While etching is not completely avoidable, you can do something about staining by applying a good-quality granite sealer on your granite countertops.
A granite sealer or a natural stone sealer will block the pores inside the granite and prevent any stain-causing substances from seeping in. Instead, these substances will bead on the granite surface, making it really easy to clean up. If you forego sealing granite countertops, liquids like coffee, wine, juices, cooking oil, and grease can all stain or discolor granite countertops.
Before we get down to how to seal granite countertops, it is important that you understand which type of granite sealer to use. Penetrating sealers are the best for sealing granite countertops. This type of sealer can be absorbed deep into the granite and provides protection against the toughest oil- and water-based stains. Penetrating sealers do not alter the natural color or appearance of granite, which is equally important.
Granite is an expensive stone and you do not want to spoil the look you paid for by using a topical sealer. Water-based penetrating sealers are safer and easier to apply. This type of sealer is the ideal choice for sealing granite countertops indoors because it does not have an unpleasant odor or release harmful fumes. However, some solvent-based penetrating sealers enter deeper into the granite and provide greater protection, especially against oil-based stains.
Carbon resin sealers provide the best results, especially the fluorocarbon aliphatic resin-based sealers. This type of sealer is, without a doubt, the most expensive variety of granite sealers, but it lasts the longest when it comes to sealing granite countertops. You won't have to re-apply the sealer for five years or more.
There are also siloxane- or silane-based sealers available in the market. However, you should be warned. These are not as good as the fluorocarbon aliphatic resin in resisting oil-based stains but they provide good protection to granite countertops nonetheless. Silicon-based sealers do not last as long as other variants of sealers and the level of protection is lower as well.
Table of Contents
Water Test
You should first perform a water test to check if you need to seal the granite countertops at your home and determine how to seal countertops effectively.

- 1To perform a water test, pour about 1/4th cup of water on the granite countertop.
- 2Mark the time when you poured the water.
- 3Wait to see how long it takes for the granite to absorb the water.
- 4If the water is absorbed immediately, you will need to seal the countertop with a top-quality sealer. You should apply at least two coats of the sealer and you should re-apply the sealer once every 12 months.
- 5If the water is absorbed in about five minutes, you will still need to seal the countertop. Do the water test every three to five years to see if your granite countertop needs sealing again.
- 6If the water absorbs in about 10 minutes, a single coat of a high-quality granite sealer will suffice. If you clean and take proper care of the granite countertop, you won’t have to re-apply the sealer for a long time.
- 7If it takes 30 minutes or more for the water to be absorbed by the granite surface or it doesn’t absorb at all, then there is no need to seal the granite countertop. As mentioned earlier, a penetrating sealer must be absorbed by the granite to be effective. If the granite is so dense that it doesn’t absorb anything, it means it is stain-resistant and does not require a sealer. If you still apply a sealer, it will remain on the surface in the form of an ugly, hazy film.
For kitchen countertops, which will undoubtedly be exposed to oil and grease, carry out the same test with a few drops of oil as well. This will not only help you determine if the granite countertops need to be sealed or not but also help identify the right sealer to use. If the oil drops are absorbed in under 10 minutes, you will need a granite sealer that is particularly good at resisting oil-based stains.

Sealing a Granite Countertop
Step 1: Clean the Granite Countertop
Thoroughly cleaning the countertop before applying the sealer is as important as the water test and is the first step of sealing granite countertops. You should clean the countertop 24 hours prior to sealing granite countertops. Ideally, you should use a specialized granite cleaner for this. If you do not have that, you can use non-acidic liquid soap to clean the countertops. Using an acidic cleaning product might result in etching, which will spoil the natural look of granite.
Begin by wiping the granite countertops with a microfiber towel or cloth to remove any dirt and grime. Next, either spray some granite cleaner on the surface or mix a teaspoon of liquid soap in water and spray it on the countertops. Wipe it clean with a fresh microfiber towel.
Mix isopropyl alcohol in water and spray this mixture on the countertop. This will act as a degreasing agent and remove any oily or greasy residue from the countertop surface. Wipe it clean with a microfiber cloth. Now, let the countertops rest for 24 hours for it to become completely dry before sealing. This thorough cleaning will ensure that no contaminant gets trapped in the surface when the sealer is applied.
Step 2: Test the Sealer
Testing at each stage is an important aspect of how to seal granite countertops. You should test the sealer in a nondescript corner of the countertop before applying it on your countertops. If the sealer discolors the granite countertops or forms a hazy residue, it means the sealer is not compatible with the granite. You will have to pick a different sealer.
Do not forget to give the sealant enough time to be absorbed into the granite countertops. If you do not give it enough time, you will not get the actual reaction. If you leave it on the surface longer than recommended, the granite might get discolored. The recommended wait period for sealing will be mentioned on the package. Usually, the wait time is 10 to 15 minutes.
Step 3: When in Doubt, Follow the Manufacturer’s Instructions
Typically, the sealer’s package will have instructions and safety measures. Read and understand these instructions and precautions. If there is any conflict between our instructions and those provided by the manufacturer’s, prioritize the manufacturer’s application method. Test the sealer (Step 2) as per the manufacturer’s instructions as well.
Step 4: Apply the Sealer Evenly
Spray the sealer evenly over the granite countertop. Alternatively, pour some of the sealer on a lint-free cloth and apply it evenly over the surface. Start from one edge or at the end of the countertop and use a circular motion while applying it. Now, wait for the recommended period of time to allow the sealer to soak into the granite. This period of time varies depending on the sealer, but usually, it is between 10 and 20 minutes.

Step 5: Clean Excess Sealer and Apply a Second Coat
There is a chance that after the sealer saturates the granite pores, some of it may remain unused on the surface. This excess sealer should be cleaned up as soon as the recommended wait or absorption period is over. Leaving the excess sealer on the granite countertop can result in discoloration or residual streaks and marks.
On the other hand, if all of the sealant has been absorbed, it might be an indication that a second coat is required. Typically, granite countertops do not require more than one coat of a good-quality sealer.
Step 6: Curing Time
The curing time is the time required for the sealing polymers in the sealant to properly bond with the granite molecules and for the anti-stain and anti-spill effect of the sealant to become fully potent. Even if the manufacturer recommends a lower curing time, it is advisable that you leave the countertop undisturbed for at least 24 hours; if possible, 48 hours. During this period, do not touch the granite countertops or place any objects on it.
Step 7: Final Clean
Once the curing time is over and before you can start using the granite countertop, a final cleanup is required. This will remove any remaining sealant residue. Use the same liquid soap and water mixture you used earlier and microfiber cloth to properly clean the countertop.
Remember that even though the sealant is there to protect the granite countertops from stains caused by spills, it is best if you clean up any spills as soon as possible and do regular polishing. Also, keep a bottle of granite cleaner handy in the kitchen or bathroom, along with a microfiber cloth for periodic cleans. This will increase the lifespan of the sealant and the granite countertop.

Precautions
There are few precautionary measures you need to keep in mind while sealing a granite countertop.
Conclusion
Granite countertops can cost anywhere between $50 per square foot and $150 per square foot, depending on the type of countertop and granite design. So, you should take care of it and provide it with whatever protection you can. A good quality sealer will help you maintain the natural look and color of the granite for a longer period of time as well as prevent staining.
Resources:
Countertop Guides
How Stuff Works
